 LicenseManager
If you distribute an Electron app outside of the app stores, code signing is the difference between “double-click to open” and a scary warning that most people won’t click through. This guide covers both platforms, with the configuration for electron-builder and Electron Forge.
Why sign at all
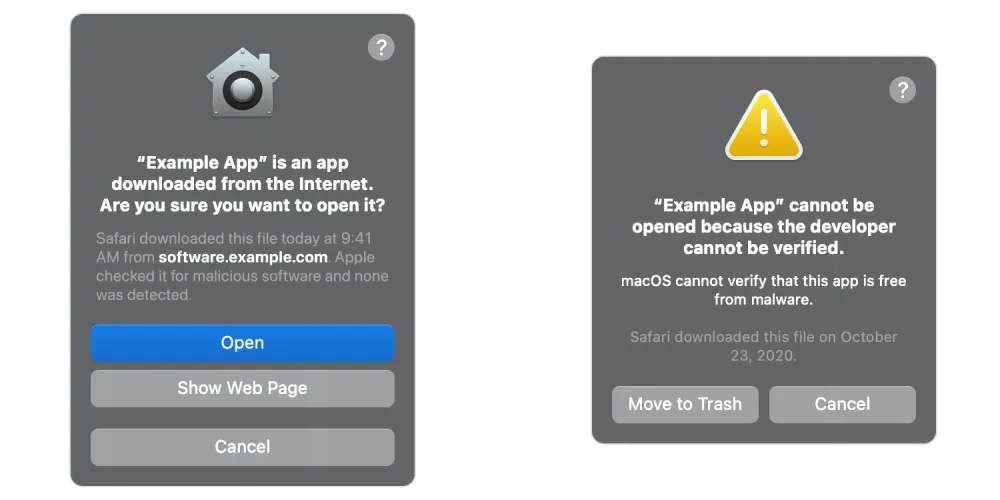
- On macOS, Gatekeeper blocks apps downloaded from the internet that aren’t signed with a Developer ID certificate and notarized by Apple. Since macOS Sequoia, there’s no longer a right-click “Open” shortcut to bypass it: users have to go to System Settings, Privacy & Security, and allow the app there.
- On Windows, SmartScreen warns about downloads that don’t have a reputation yet, and unsigned apps never build one. Signing also prevents “Unknown publisher” in the UAC prompt.
- Auto updates need it. On macOS, Electron’s updater refuses to install an update that isn’t signed by the same identity as the running app.
Signing for macOS
What you need
- An Apple Developer Program membership, 99 USD per year, as an individual or an organization.
- A “Developer ID Application” certificate. Create it in your Apple Developer account, under Certificates, or from Xcode’s settings. Not “Apple Development” or “Mac App Distribution”: those are for development and the Mac App Store.
- Credentials for notarization: either your Apple ID with an app-specific password and your Team ID, or an App Store Connect API key. The API key is better for CI.
Install the certificate in your login keychain on your Mac, and check it’s there:
security find-identity -v -p codesigning
# 1) 3A1B… "Developer ID Application: Acme Inc (AB12CD34EF)"
Hardened runtime and entitlements
Notarization requires the hardened runtime. Electron needs a few entitlements to run with it, because V8 generates code at runtime:
<?xml version="1.0" encoding="UTF-8"?>
<!DOCTYPE plist PUBLIC "-//Apple//DTD PLIST 1.0//EN" "http://www.apple.com/DTDs/PropertyList-1.0.dtd">
<plist version="1.0">
  <dict>
    <key>com.apple.security.cs.allow-jit</key>
    <true/>
  </dict>
</plist>
Add only what you need. An app that loads native modules signed by someone else may need com.apple.security.cs.disable-library-validation; one that records audio needs com.apple.security.device.audio-input, and so on. Every entitlement you add weakens the hardened runtime a little.
With electron-builder
electron-builder finds the Developer ID certificate in your keychain, signs every binary inside the app, and notarizes it:
mac:
  hardenedRuntime: true
  entitlements: build/entitlements.mac.plist
  entitlementsInherit: build/entitlements.mac.plist
  notarize: true
The notarization credentials come from environment variables, so they never end up in your repository:
export APPLE_ID="you@example.com"
export APPLE_APP_SPECIFIC_PASSWORD="abcd-efgh-ijkl-mnop"
export APPLE_TEAM_ID="AB12CD34EF"
npx electron-builder --mac
Or, with an App Store Connect API key: APPLE_API_KEY (the path to the .p8 file), APPLE_API_KEY_ID and APPLE_API_ISSUER.
With Electron Forge
Forge uses @electron/osx-sign and @electron/notarize through its packager config:
export default {
  packagerConfig: {
    osxSign: {},
    osxNotarize: {
      appleId: process.env.APPLE_ID!,
      appleIdPassword: process.env.APPLE_APP_SPECIFIC_PASSWORD!,
      teamId: process.env.APPLE_TEAM_ID!,
    },
  },
};
An empty osxSign object uses the default Electron entitlements and the first Developer ID certificate found in your keychain.
Checking the result
Notarization can take from a minute to an hour. When it’s done, the ticket is stapled to the app, so Gatekeeper can verify it offline. Check everything worked:
codesign --verify --deep --strict --verbose=2 "dist/mac-arm64/Acme Photo.app"
spctl --assess --type execute --verbose "dist/mac-arm64/Acme Photo.app"
# … accepted, source=Notarized Developer ID
When notarization fails, read Apple’s log for the submission. It lists each binary that’s unsigned, or signed without the hardened runtime:
xcrun notarytool log <submission-id> --keychain-profile "notary"Signing for Windows
Windows signing changed a lot in the last few years. Two changes matter:
- Since June 2023, certificate authorities can’t hand you a
.pfxfile anymore. The private key of a code signing certificate, OV or EV, must live on a hardware token or an HSM, including in the cloud. A USB token works on your desk, but not in CI. - EV certificates no longer skip SmartScreen. They used to give instant reputation. Now, every new certificate builds reputation through downloads over time, EV or not.
Your options
| Option | Works in CI | Notes |
|---|---|---|
| OV certificate on a USB token | Hard | Cheapest certificate, but the token must be plugged into the machine that signs. |
| Certificate in a cloud HSM | Yes | Offered by most certificate authorities, often with a per-signature quota. |
| Azure Trusted Signing | Yes | Microsoft’s signing service, billed monthly. Check its eligibility rules for your country and whether you sign as a company or an individual. |
For most indie developers and small teams, a cloud service is the least painful: no hardware, and signing from GitHub Actions is a few environment variables.
With electron-builder and Azure Trusted Signing
win:
  azureSignOptions:
    publisherName: "Acme Inc"
    endpoint: "https://weu.codesigning.azure.net"
    codeSigningAccountName: "acme-signing"
    certificateProfileName: "acme-public"
The credentials come from AZURE_TENANT_ID, AZURE_CLIENT_ID and AZURE_CLIENT_SECRET. The publisherName must match the name on the certificate, or auto updates will refuse to install.
With electron-builder and a certificate
With a certificate you can sign with locally, like on a token, set CSC_LINK and CSC_KEY_PASSWORD, or use win.signtoolOptions to call signtool with your certificate authority’s tooling. For a cloud HSM, win.signtoolOptions.sign accepts a custom script that calls your provider’s signing tool on each file.
With Electron Forge
The Squirrel maker accepts signing options, passed to @electron/windows-sign:
import { MakerSquirrel } from "@electron-forge/maker-squirrel";

export default {
  makers: [
    new MakerSquirrel({
      windowsSign: {
        signWithParams: "/fd sha256 /tr http://timestamp.digicert.com /td sha256",
      },
    }),
  ],
};
Always timestamp
A signature without a timestamp becomes invalid when the certificate expires. With a timestamp, a signature made while the certificate was valid stays valid forever. electron-builder timestamps by default. If you call signtool yourself, pass /tr with your certificate authority’s timestamp server.
Signing in CI
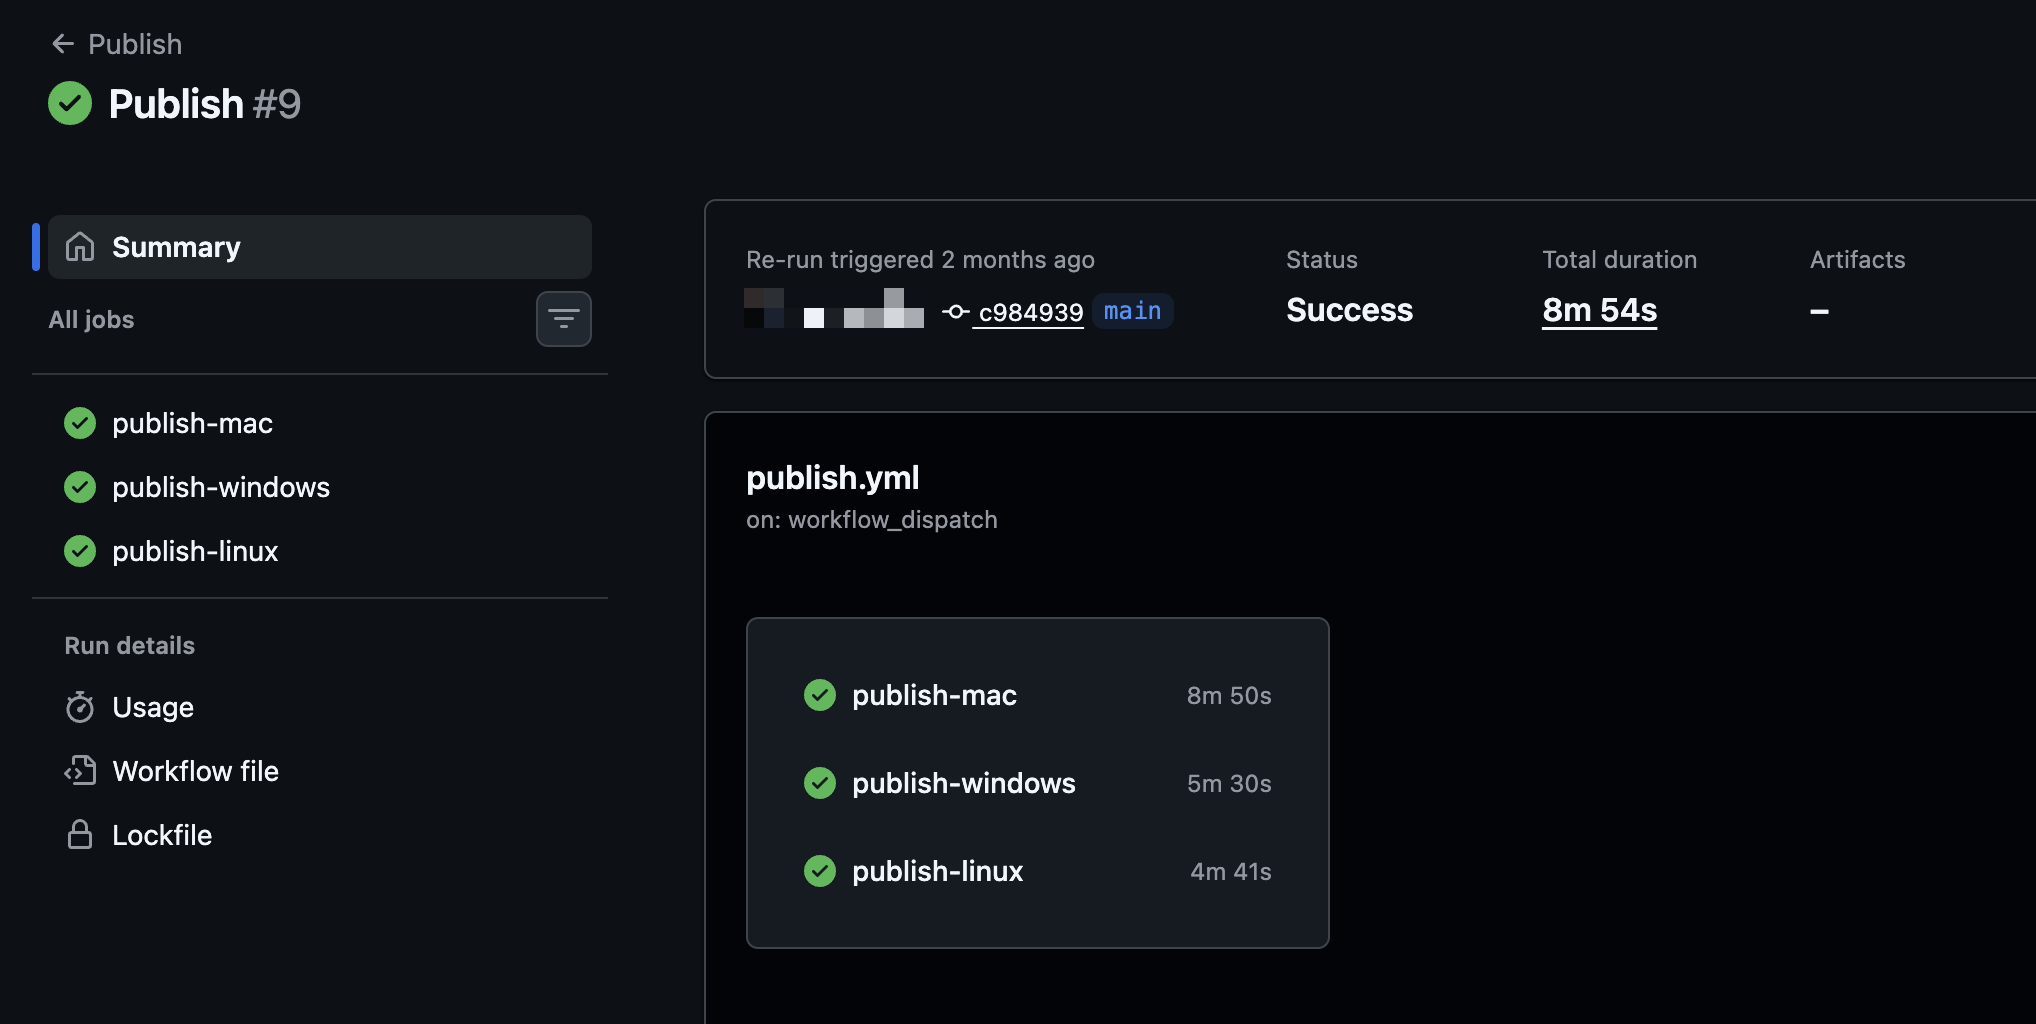
Build each platform on its own runner: macOS signing needs macOS, and Windows signing tools run best on Windows.
On the macOS runner, import the certificate from a base64 secret into a temporary keychain. electron-builder does it for you when you set CSC_LINK to the base64 .p12 export of your Developer ID certificate, and CSC_KEY_PASSWORD to its password.
Keep every secret in your CI’s secret store, never in the repository, and restrict who can run the release workflow.
Common errors
- “The binary is not signed with a valid Developer ID certificate.” A binary in the app, often a native module or a helper, wasn’t signed. electron-builder signs them all; check that you aren’t adding files after signing.
- “The executable does not have the hardened runtime enabled.” Set
hardenedRuntime: true, and check native binaries you ship yourself. - The app crashes on launch after signing. Usually a missing entitlement, like
allow-jit. Run the app from the terminal to see the error. - Windows updates refuse to install. The publisher name changed between two versions, often after renewing a certificate with a different subject.
Wrapping up
Code signing is a one-time setup that you mostly forget about afterwards, until a certificate expires. Set a reminder a month before. Once your app opens without warnings on both platforms, the next step to selling it is license keys, and auto updates to keep paying customers on the latest version.